
Data Downloader Guide
Use the data downloader notebook to pull Parcl Labs data into a CSV - zero API experience required.
Introduction
The Parcl Labs Data Downloader Guide is for real estate data enthusiasts who want to use the Parcl Labs API to download and analyze housing market data but are less familiar with using an API. In this guide, we'll walk you through the basics of setting up, running the data downloader notebook, and customizing it to fit your needs.
Access the Data Downloader Notebook
Available here: <https://github.com/ParclLabs/parcllabs-examples/blob/main/python/introduction/download_data.ipynb>
What Does the Data Downloader Do?
The Parcl Labs Data Downloader notebook helps you easily retrieve and save real estate market data from the Parcl Labs API. It allows you to:
- Search for specific markets.
- Retrieve housing metrics about these markets.
- Save the retrieved data as CSV files for further analysis.
Before You Get Started
To use the Parcl Labs Data Downloader notebook, you need a few essentials:
- API Key: Sign up here to get your API key from your dashboard.
- Google Account: All Parcl Labs notebooks are integrated with Google Colab, which provides an easy way to run notebooks in the cloud. Ensure you have a Google account to access it.
Using the Data Downloader Notebook
The guide below walks you through how to set up and run the data downloader notebook. The actual notebook includes detailed comments to assist you. This guide serves as an additional resource specifically designed for first-time users.
Step 1: Setting Up Google Colab
A. Open the Parcl Labs Data Downloader notebook.
B. Click "Open in Google Colab".
C. IMPORTANT: Set your API key by copying the Key (from your API dashboard) and pasting it into the 2nd code block (highlighted in blue below).

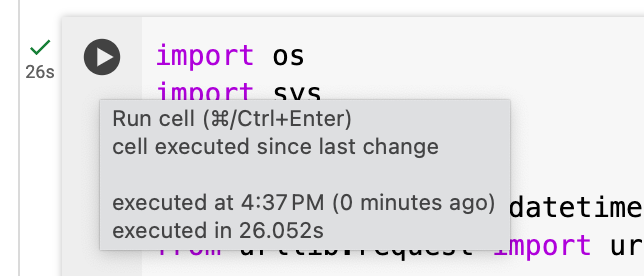
You should be set and connected to the Parcl Labs API, which will allow you to continue! You can press run (the forward arrow) on the first code block to confirm.
If you need additional help setting up Google Colab with your key, please refer to this detailed guide.
Step 2: Set Up Your Notebook
A. The first several code blocks set up the notebook with the necessary packages to retrieve data. You can simply run this part; the code is preformatted exactly as needed.
Import packages required to run notebook
B. The code block pictured below sets your limit for all calls. Limit means the amount of data that will be returned per market. It's important to be mindful of your limit as it corresponds to the credits consumed. You can change the limit by replacing 12 with your desired number.

Set limit on how much data will be pulled through in downloads
C. IMPORTANT: The next code block sets your markets. This step is critical because the markets searched here will determine what markets you're downloading data about.
- The default search is for the top 12 most populous metropolitan statistical areas (MSAs).
- To change the search criteria, modify the parameters within the search code block. For example, you can adjust parameters like location_type (e.g., "CITY", "COUNTY"), sort_by (e.g., "TOTAL_POPULATION", "MEDIAN_INCOME"), sort_order (e.g., "ASC", "DESC"), and other filters to target specific markets based on your needs. To see all available parameters, refer to the Search Endpoint in the API Reference.
- You can also copy and paste search queries from our Search Notebook. It's important to note that you can define one market (e.g., zip code 10010) or a set of markets (e.g., top 100 most populous counties, every zip code in Florida, etc.). Search enables flexible scoping of markets to include in the data download.
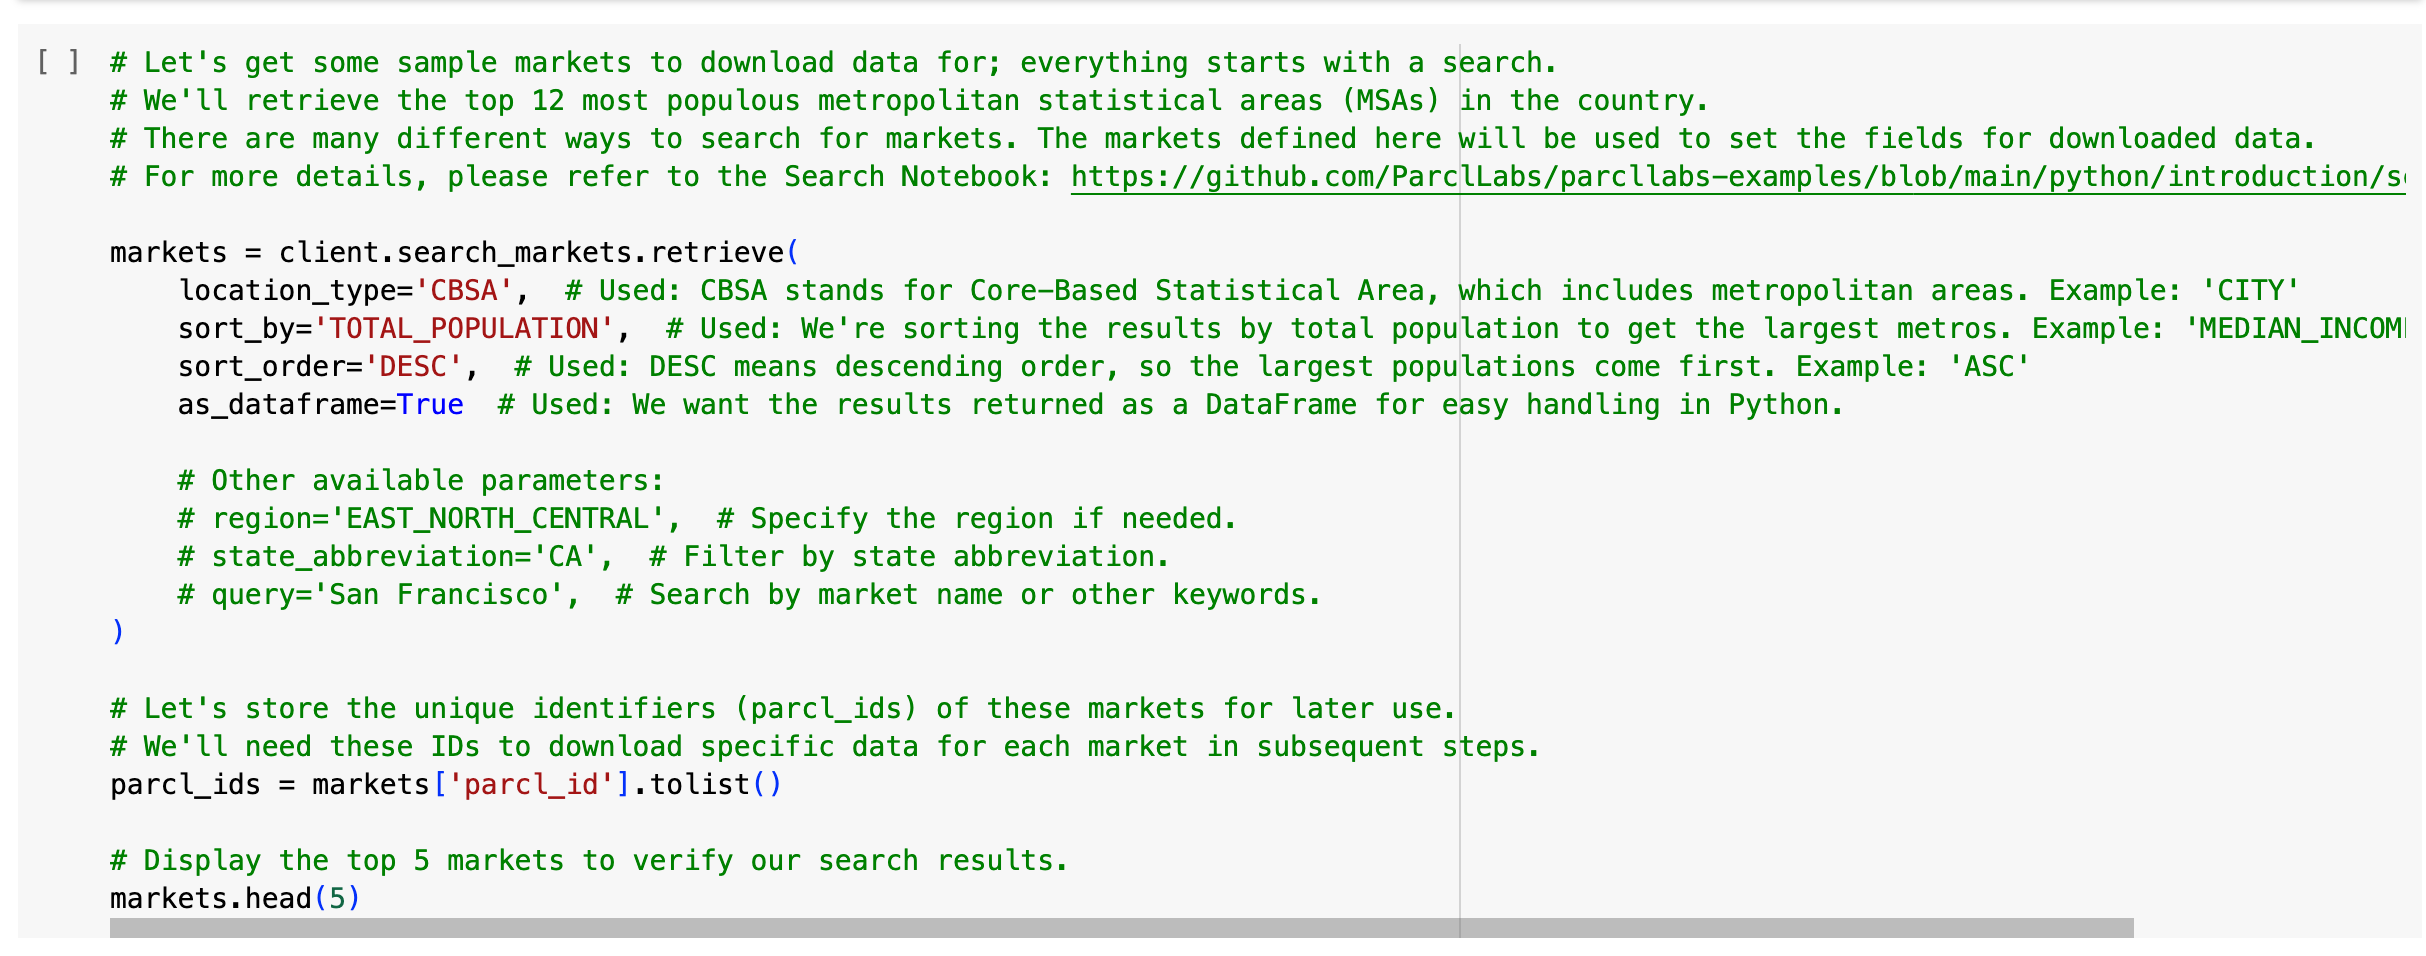
Search markets you want to download data for
Running this code will provide a preview of the markets formatted in a table. This allows you to check that you correctly searched for your markets of interest. The subsequent endpoint downloads will refer to this list to understand which markets to pull data about.
D. The last phase of setup is creating the default date range for the notebook. If you want to edit it, change the START_DATE to your desired start date:
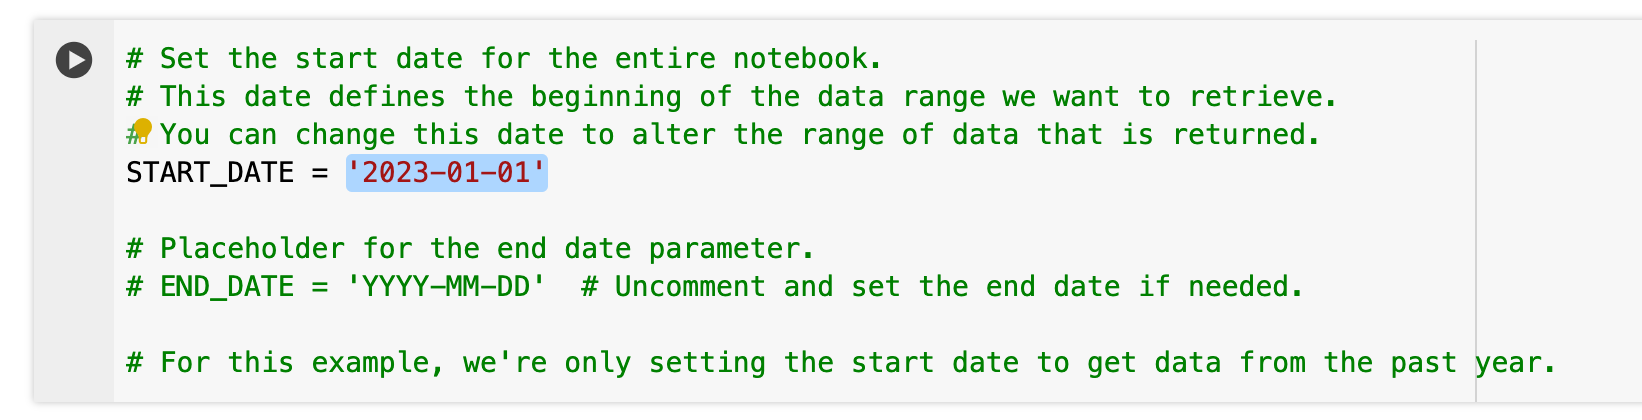
Set date range for data download
You now should have imported the necessary packages, set your data limit, defined your markets, and set your data range. You're ready to start retrieving data.
Step 3: Download Data
In the notebook, there is a data download option for every endpoint in the API. You can review the API Reference to get familiar with the specific API endpoints you want to pull data from.
Each endpoint involves two steps to download data, formatted into two separate code blocks:
- Download the data
- Save it as a CSV
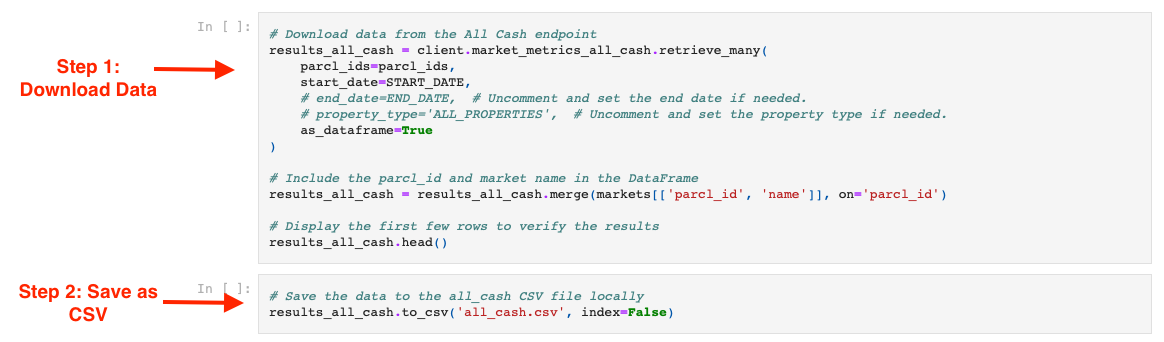
Let's walk through an example for housing stock. This example assumes you've successfully run the steps above for importing packages, setting your markets, and defining the date ranges.
A. First, we click run to download the data for our searched markets in housing stock. After it's run, we'll see a preview of the data:
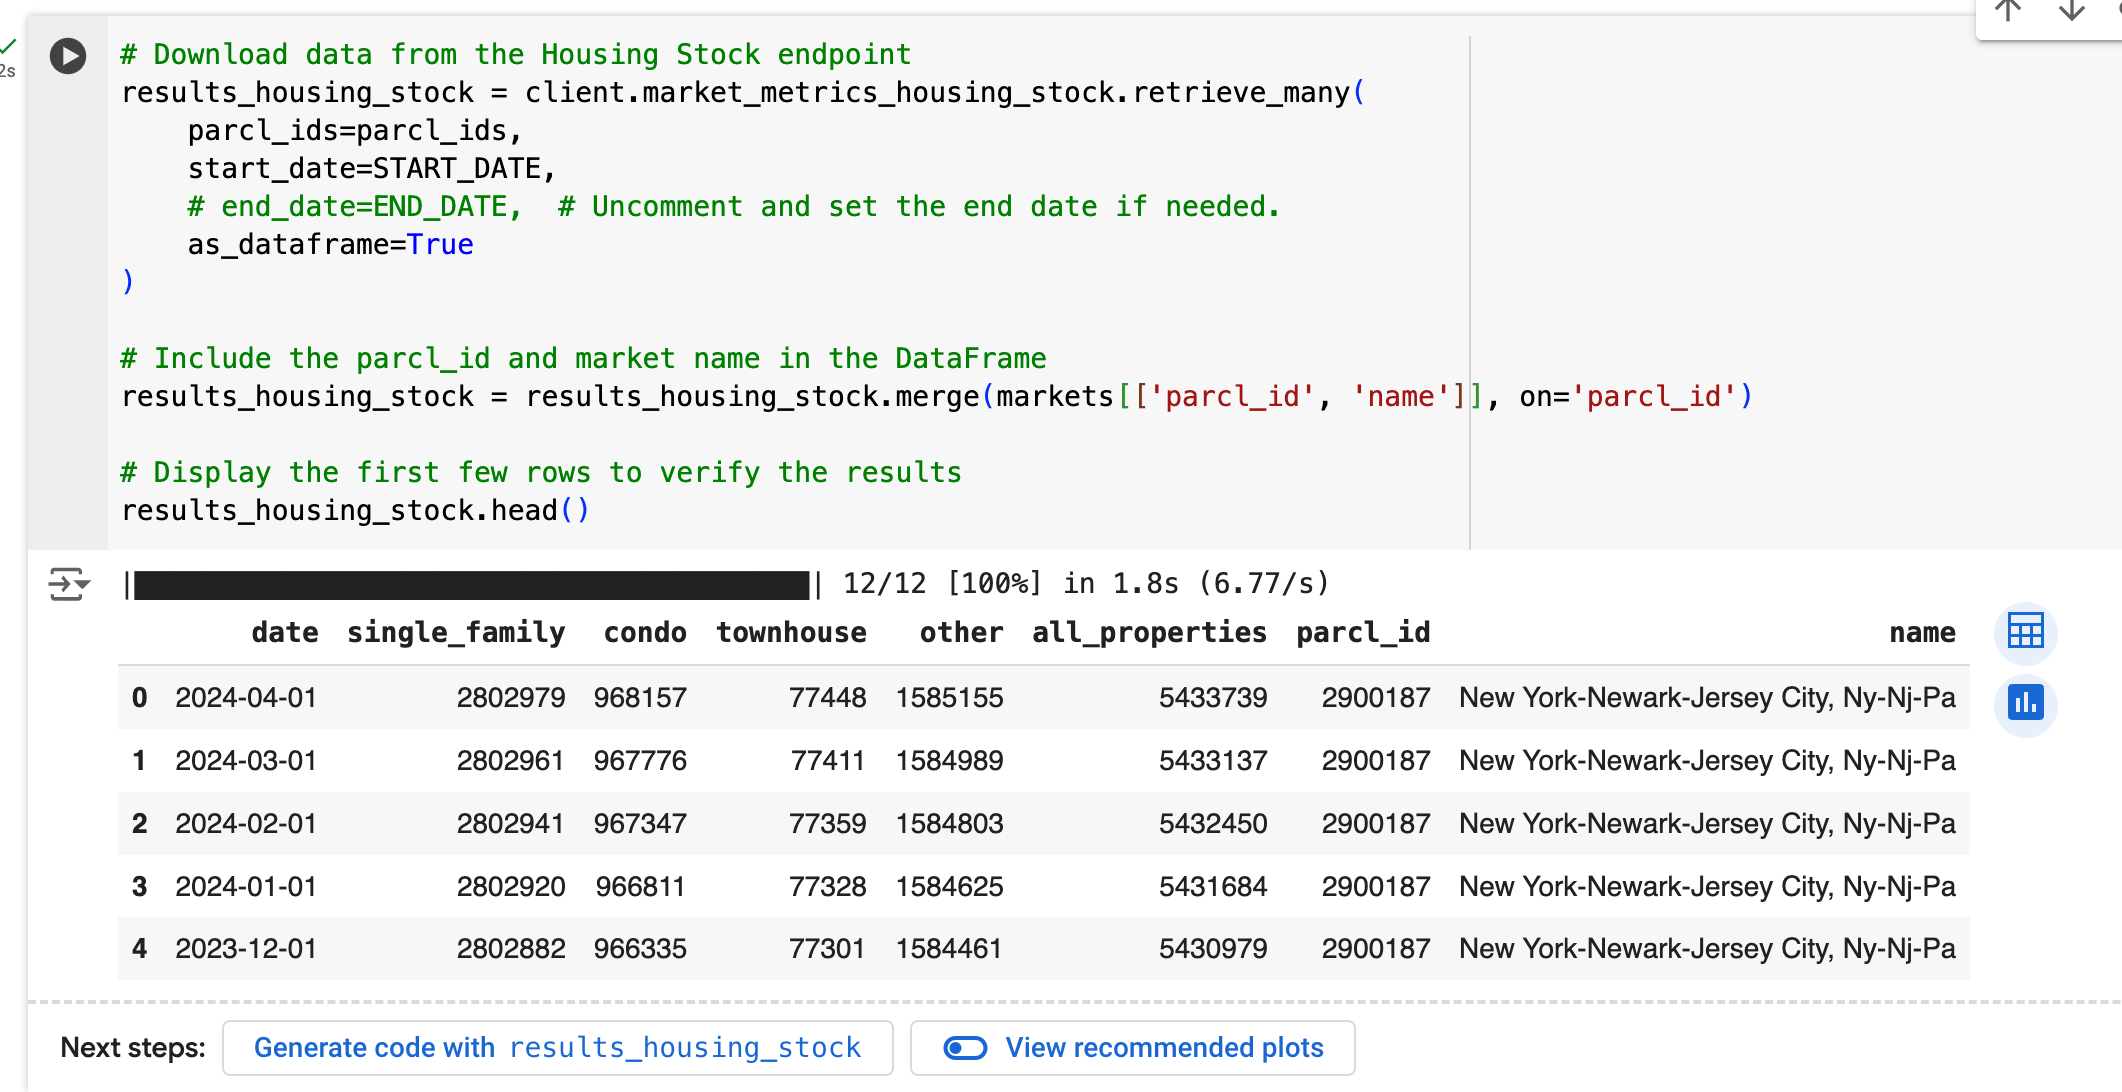
B. Next, save it as a CSV by running this code:

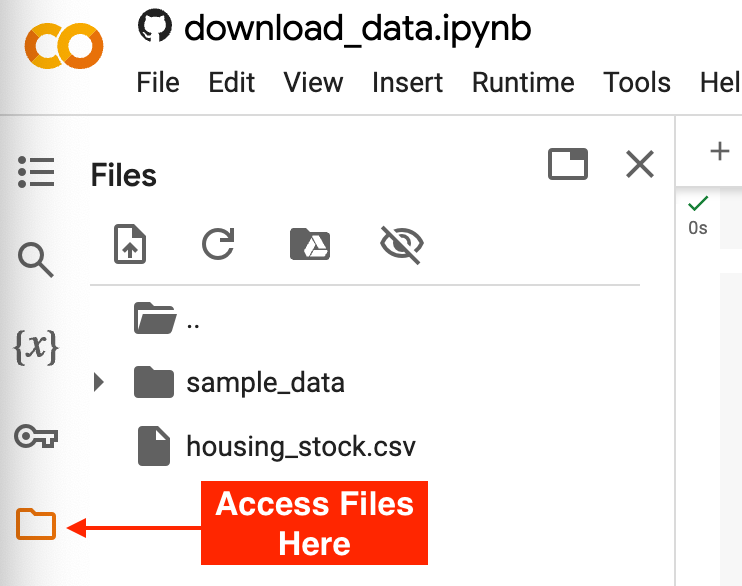
C. Access your downloaded files in the file folder in the lefthand pane in Google Colab.
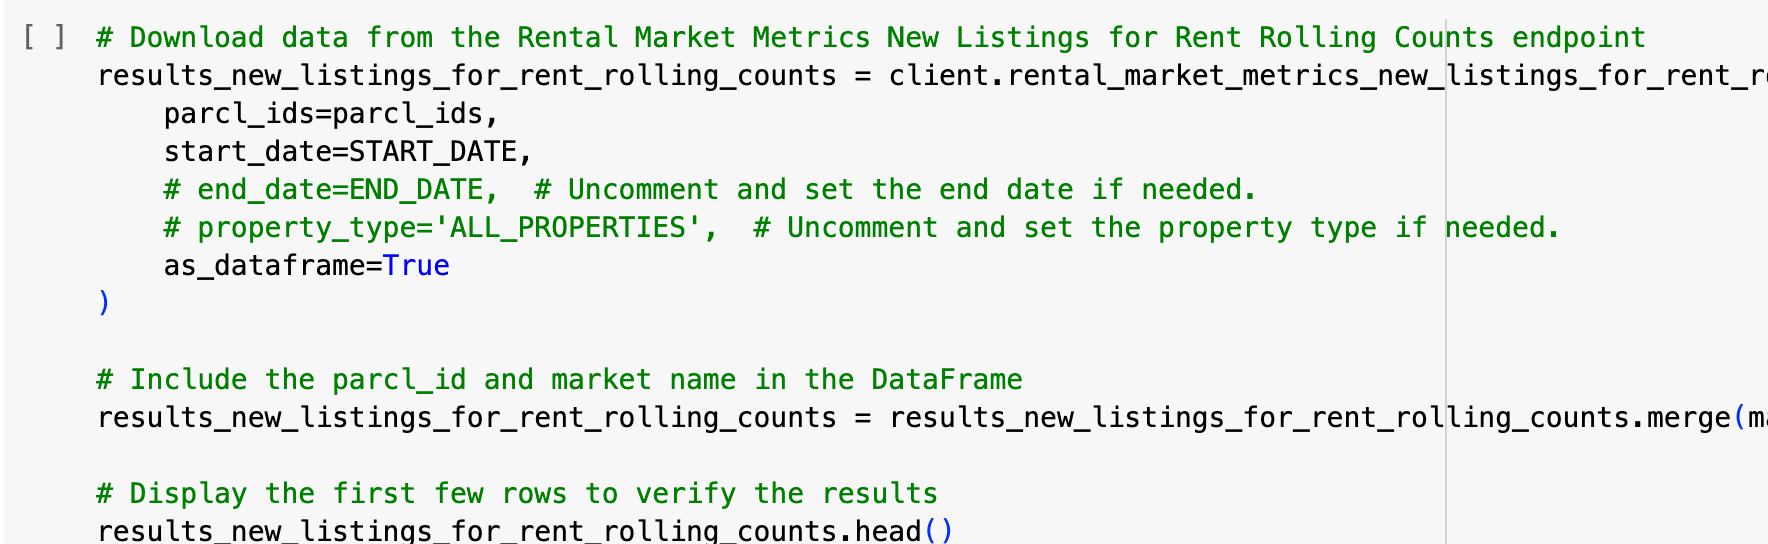
You can replicate this process for any Parcl Labs endpoint. Within two clicks, you can download CSV versions of any endpoint for your markets of interest. The first comment in the code block will always describe which endpoint the download is for, so please use that to navigate the notebook.
Advanced Topic: Modifying Parameters like Property Type and Portfolio Size
In addition to setting basic parameters such as date ranges and market limits, you can further refine your data pulls by modifying parameters like property type and portfolio size. You will see these options in the relevant endpoints.
Property Type Example
The default is ALL_PROPERTIES. Where you see this option, you can change it to specify the type of property:
Property Type Options:
- SINGLE_FAMILY
- CONDO
- TOWNHOUSE
- ALL_PROPERTIES
Modify property_type by removing the # and inserting the property type you want to filter the data to
Portfolio Size Example
The default is ALL_PORTFOLIOS. Where you see this option, you can change it to specify the portfolio size:
Portfolio Size Options:
- PORTFOLIO_2_TO_9
- PORTFOLIO_10_TO_99
- PORTFOLIO_100_TO_999
- PORTFOLIO_1000_PLUS
- ALL_PORTFOLIOS
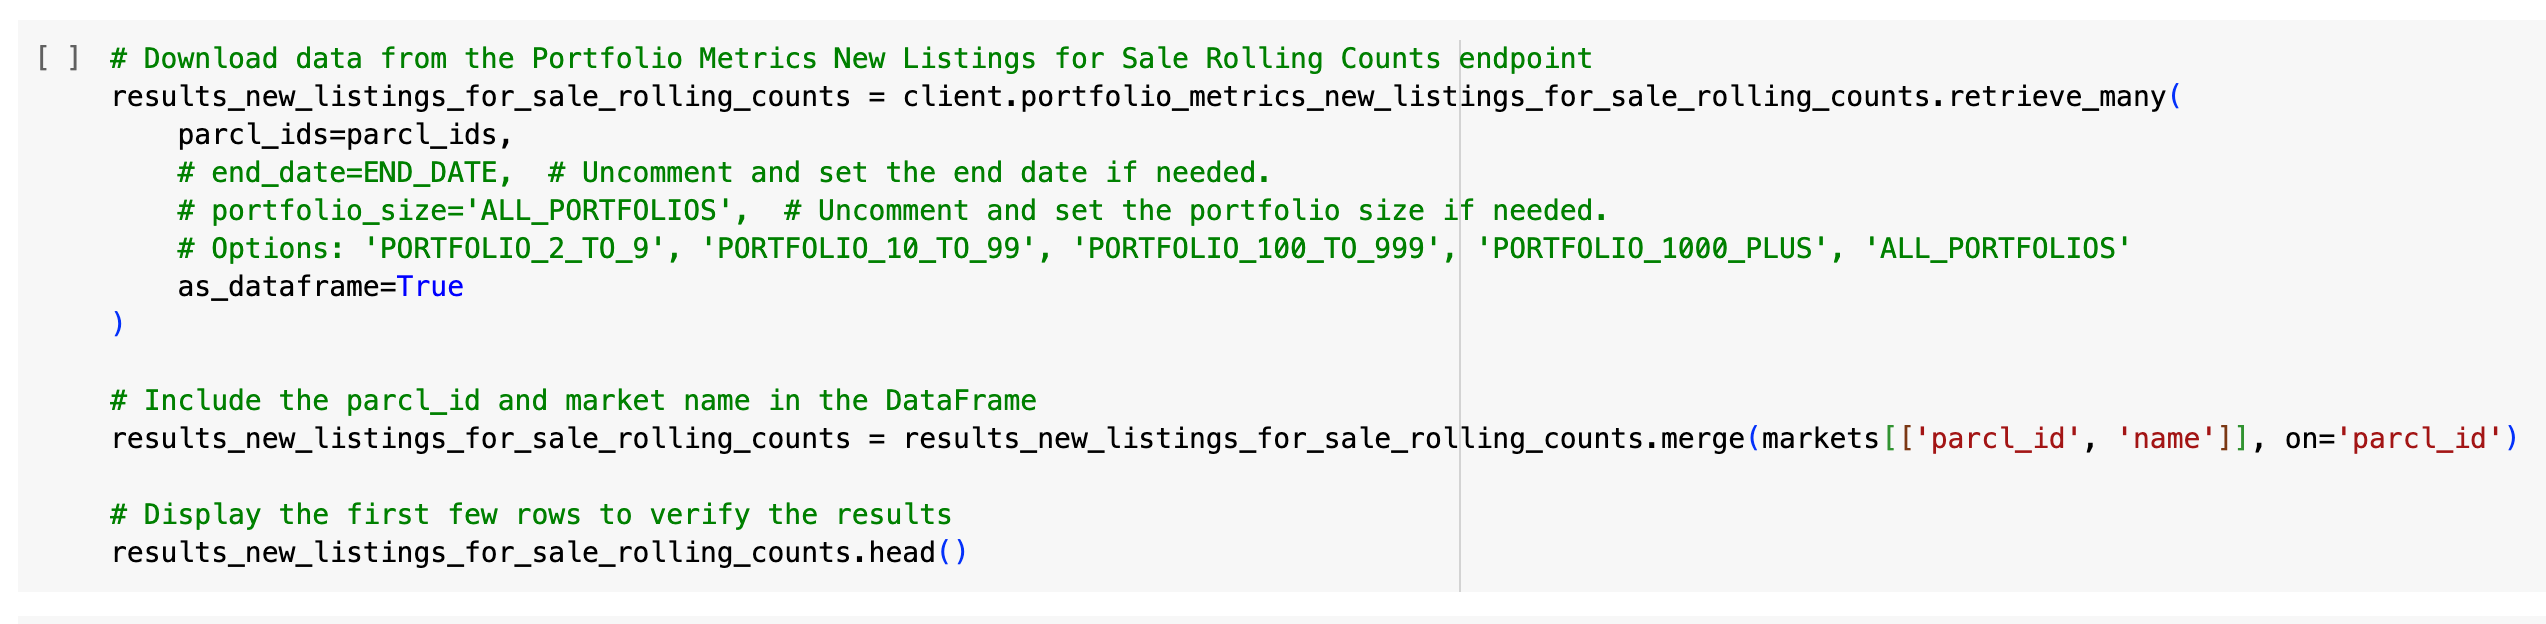
Modify portfolio_size by removing the # and inserting the portfolio size you want to filter the data to.
Troubleshooting Issues
If you encounter issues, please visit our Community Forum and post your question. Our support team and community members are there to help you!
Updated 3 months ago